

In high-volume kitchens, prep-ahead menus depend on one variable more than any other: cooling speed. When cooked food remains in the temperature danger zone too long, quality falls, moisture separates, and food-safety risk rises. A commercial blast chiller changes that equation by removing heat fast enough to protect texture, color, and shelf life. The five menu categories below are among the most reliable items to prep ahead when blast chilling is part of the workflow.
Why Blast Chilling Is Different from Walk-In Cooling
A standard walk-in cooler is designed to hold cold food, not to remove large amounts of heat quickly. When a stockpot of soup or a hotel pan of rice is placed directly into a walk-in, the surrounding air may not move enough to cool the center rapidly. The result is uneven cooling, condensation, and a long window where food sits between 135°F and 41°F.
A blast chiller uses high-velocity cold air and a more aggressive refrigeration load to pull heat out of food quickly. For prep-ahead production, that speed is not only a safety advantage. It also prevents overcooked edges, keeps sauces from separating, preserves the bite of grains, and reduces the risk of steam carrying off aromatics and moisture.
5 Menu Items to Prep Ahead with a Blast Chiller
1. Cooked Grains and Grain-Based Sides
Rice, quinoa, farro, barley, pasta, and noodle bases are prime prep-ahead candidates because they are produced in large batches and often cool slowly in deep containers. When cooled too gradually, grains can become mushy, clump together, or develop an unpleasant mouthfeel.
For best results, spread cooked grains no more than two inches deep in shallow pans, portion them according to service size, and move them into the blast chiller while still hot. Once chilled, store the portions covered and labeled. During service, reheat only what is needed with a small amount of stock or water to restore steam and loosen the grains.
2. Soups, Stocks, and Sauces
Large-batch soups, braising liquids, broths, and emulsified sauces are some of the riskiest items to cool passively because their volume holds heat at the center long after the surface feels cool. A blast chiller probe is especially useful here: it tracks core temperature rather than surface temperature.
Chill soups and sauces in shallow fill depths or use an ice paddle before loading when the batch is extremely dense. Once cooled, label the container with the date, time, and final chill target. Fat may separate at the surface during chilling; this is normal and can be reincorporated when the item is reheated.
3. Marinated or Par-Cooked Proteins
Thin-sliced beef, portioned chicken, shrimp, tofu, and par-cooked proteins respond well to blast chilling because the rapid temperature drop reduces the amount of time that surface bacteria have to multiply. Blast chilling also helps maintain the texture of marinated items by preventing them from sitting in warm marinade for extended periods.
Do not overload the trays. Leave enough space between portions so cold air can move across each piece. Keep raw proteins below cooked or ready-to-eat items to avoid cross-contamination, and use sealed containers or food-grade film during storage.
4. Roasted Vegetables and Plant-Based Components
Roasted carrots, eggplant, peppers, cauliflower, mushrooms, and plant-based sides can lose their firmness when cooled slowly in a covered container. The steam that collects inside softens the surface and dulls bright colors.
Blast chill roasted vegetables in a single layer before consolidating them into storage containers. Once chilled, toss them with oils, herbs, or dressings in small batches during assembly. This keeps the vegetables from becoming slick or overly soft before service.
5. Desserts, Compotes, and Fruit Preparations
Pastry cream, custards, mousses, curds, compotes, and cooked fruit fillings are often made ahead, but their high moisture content makes them sensitive to slow cooling. Fast chilling helps stop the cooking process, prevents a skin from forming, and keeps butter or dairy components from separating.
For pastry creams and curds, spread the mixture into shallow pans for chilling, then cover once cold. For fruit compotes, chill uncovered or lightly covered until the temperature drops, then seal and label for storage.
Two-Stage Cooling: The Safety Standard Behind Prep-Ahead Menus
A prep-ahead program should follow the two-stage cooling method described in the U.S. FDA Food Code: cooked time/temperature control for safety food should cool from 135°F to 70°F within two hours, and from 70°F to 41°F within a further four hours [1]. The Codex General Principles of Food Hygiene support the same operational goal: limit the time food remains in the danger zone between cooking and refrigerated storage [2]. The U.K. Food Standards Agency likewise advises businesses to cool hot food as quickly as possible before placing it into refrigeration [3].
A blast chiller is one of the few pieces of equipment designed specifically for this job. In a properly loaded batch, it forces cold air across the food while removing enough heat to move the product through the critical first cooling stage quickly. The result is better compliance, less product loss, and fewer last-minute corrections.
Building a Prep-Ahead Workflow Around Blast Chilling
The most successful prep-ahead programs treat blast chilling as one step in a chain, not as a standalone solution. That chain includes batch sizing, container selection, labeling, cold storage, and line-side holding. In one banquet kitchen, a team moved sauce production from the morning of service to the previous afternoon by blast chilling 20-liter batches in shallow pans, then reheating only the number of portions each station required. The change cut assembly time without altering the texture of the sauce.
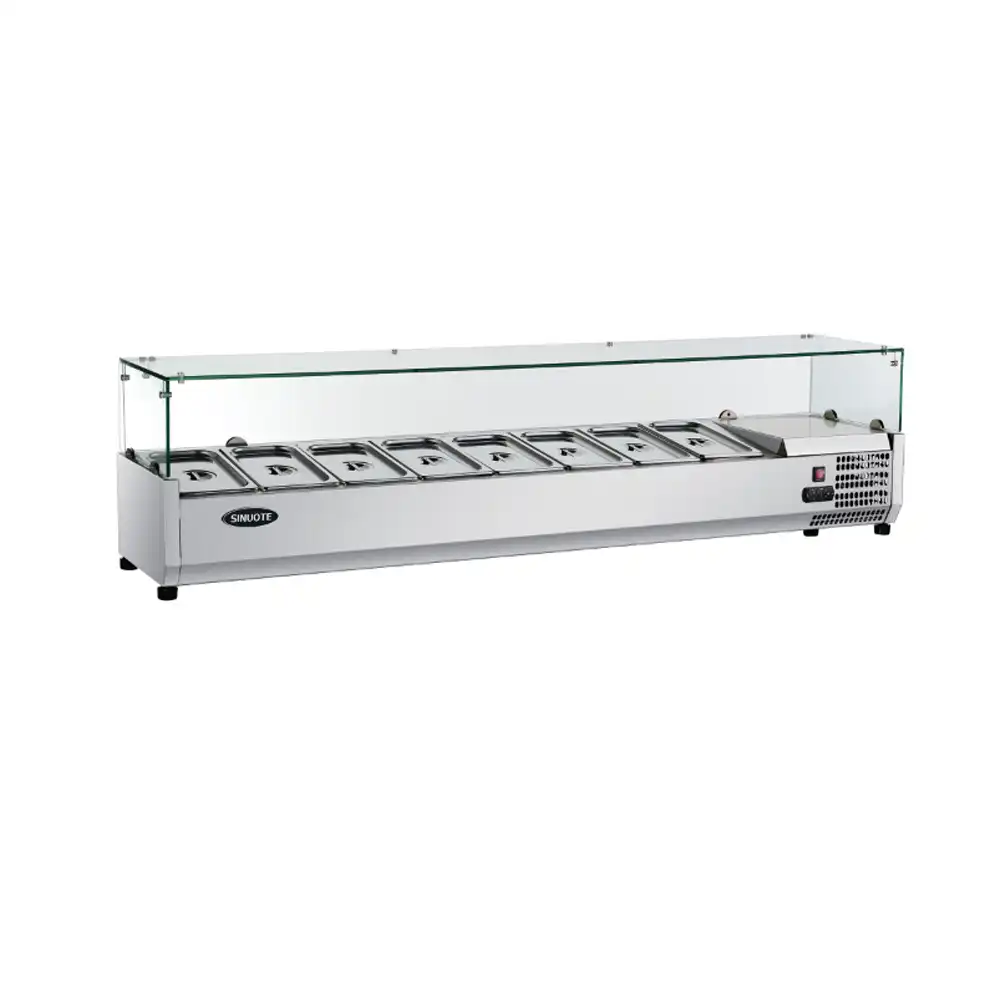
Blast chilling solves the heat-removal problem; cold storage and line-side refrigeration solve the holding problem. Once trays are chilled, they need to move quickly into zones that maintain 41°F or below and allow cooks to access components without repeatedly opening a distant walk-in.
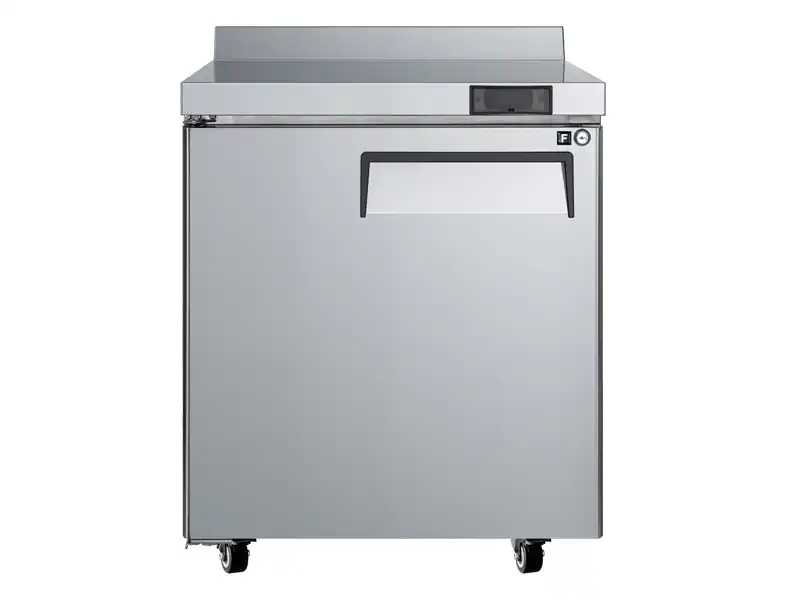
Once blast-chilled components are cooled, they still need organized cold holding and accessible prep surfaces during service. <Boost Kitchen Efficiency Workflow Optimization with Chef Base Fridges> covers how refrigerated chef base stations keep prepped components organized at the cooking line.
For kitchens comparing cold-holding configurations, the difference between a chef base and an undercounter unit affects both storage depth and top workspace. <Chef Base Fridge vs Undercounter Fridge Which Is Best for Your Kitchen> covers how the two formats perform in day-to-day service.
Even efficient blast chilling does not eliminate the need for a reliable chef base maintenance schedule on the line. <Essential Maintenance Tips for Your Commercial Chef Base Refrigerator> covers the cleaning and temperature checks that keep prep stations safe.
Mistakes That Undo Blast-Chilled Prep
The fastest way to weaken a blast-chilling program is to load the cabinet incorrectly. Stacking deep hotel pans, covering food tightly while hot, or overcrowding the interior reduces airflow and turns the chiller into an expensive refrigerator. The second common mistake is treating the chiller as long-term storage. It is a cooling tool first; after the target temperature is reached, product should move to a holding unit.
Another frequent issue is chilling items that are already past their quality window. Blast chilling preserves quality, but it does not restore overcooked grains, broken sauces, or proteins held warm for too long before chilling.
Matching Cold Holding, Freezing, and Service
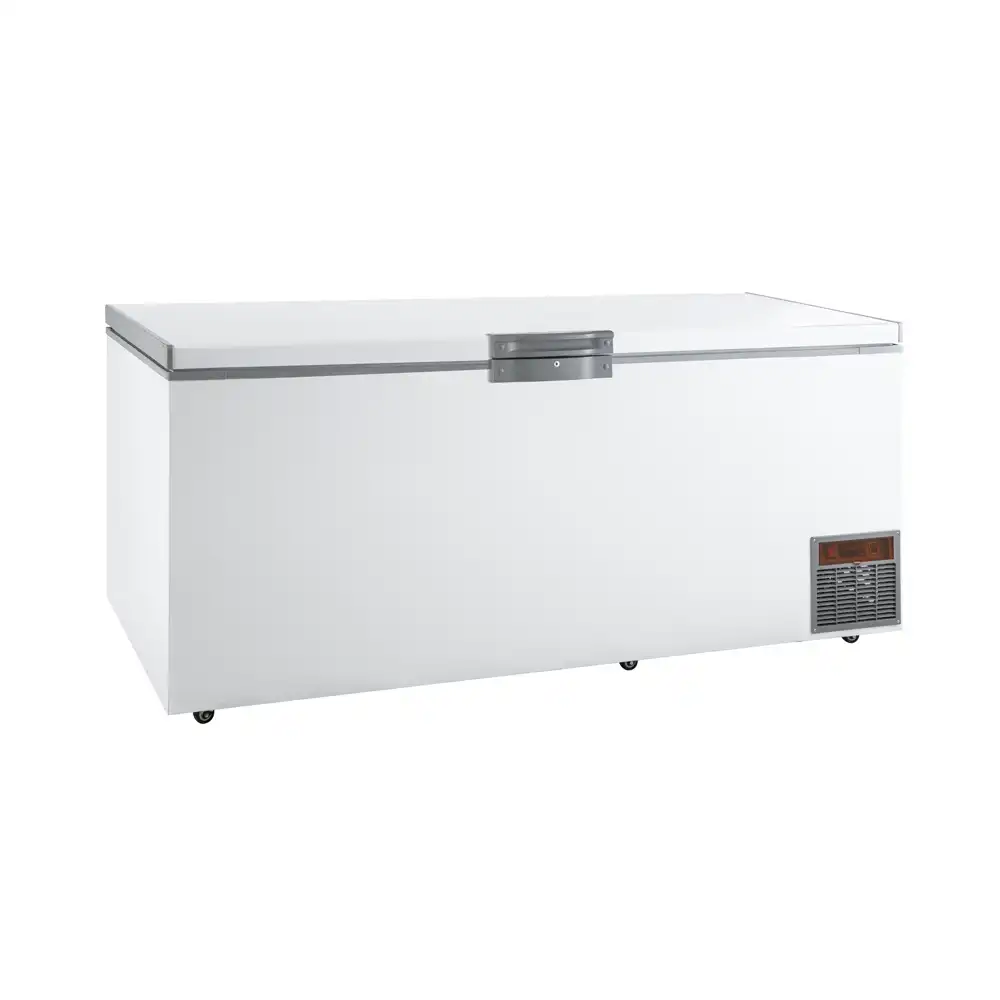
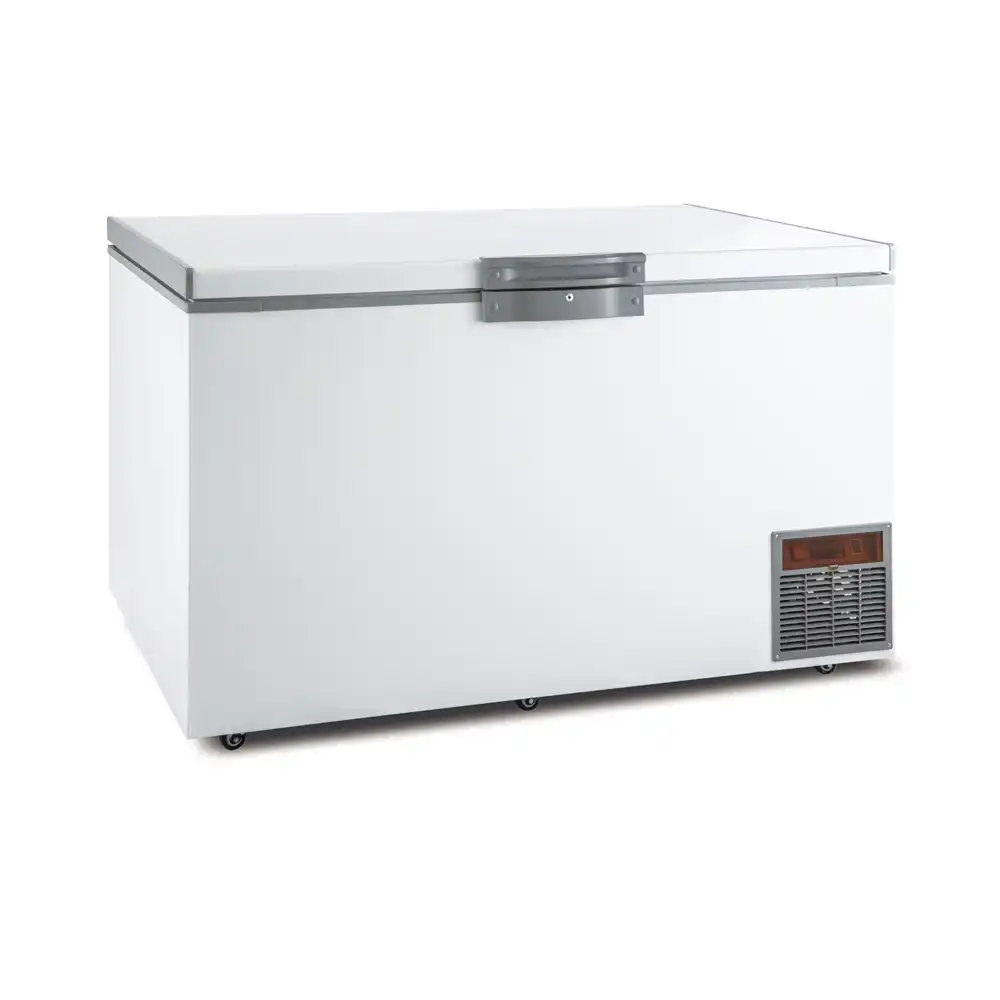
Not every prep-ahead item needs to remain in the refrigerator. Some components, such as par-baked items or sauces produced in large cycles, may move to freezer storage after chilling. The decision should follow the menu: if the item will be used within a day or two, refrigerated holding usually protects flavor and texture. If production is weekly or biweekly, freezing after blast chilling may be the better route.
The same discipline applies to proteins and temperature-sensitive bases. A rapid-chilled item placed into an overloaded storage unit can still warm up if the holding equipment is not sized for the added volume. Check that both the blast chiller and the supporting cold storage are matched to the peak prep load, not the average day.
Plan a Prep-Ahead Program That Holds Up Under Volume
A blast chiller pays back most clearly when it fits your production schedule, container system, and cold-holding plan. If you are specifying equipment for a new kitchen or retrofitting an existing line, share the following with our commercial refrigeration team:
- daily prep batches and maximum batch volume
- target menu items and the required time from cook to 41°F
- available pan sizes and rack dimensions
- existing cold storage capacity and walk-in or freezer access
- HACCP or local food-safety requirements
Email Sales@hzcamay.com or call +86 181 5720 2219 to discuss a configuration for your kitchen.
FAQ: Blast Chiller Prep-Ahead
Can I blast chill any menu item?
Most cooked or par-cooked items can be blast chilled, but quality results depend on portion depth, pan size, and airflow. Dense whole roasts, extremely thick mixtures, or items in sealed deep containers may require longer chill times or partial cooling before loading.
How quickly should a blast chiller cool cooked food?
The FDA Food Code sets a two-stage cooling target: 135°F to 70°F within two hours, and 70°F to 41°F within four hours total [1]. A properly loaded blast chiller is designed to pull food through the first stage quickly, but the actual time varies by model, batch size, and product density.
Do I still need a walk-in cooler if I have a blast chiller?
Yes. A blast chiller is used for rapid cooling, not long-term holding. Once food reaches the target temperature, transfer it to a refrigerator, walk-in, or freezer that can maintain safe storage conditions.
What is the biggest prep-ahead mistake?
The most common mistake is loading the blast chiller too full or using deep, tightly covered containers. This reduces airflow and slows cooling at the center of the product, even in a high-performance chiller.
How do I reheat blast-chilled components safely?
Reheat only the portion needed for service, and bring the item to the temperature required by your local food-safety code. For many prepared components, reheating to at least 165°F is a common target, but you should confirm the specific requirement for your menu and jurisdiction.
References
[1] U.S. Food and Drug Administration, Food Code 2022. Washington, DC, USA: U.S. Dept. of Health and Human Services, 2022. [Online]. Available: https://www.fda.gov/food/fda-food-code/food-code-2022
[2] Codex Alimentarius Commission, General Principles of Food Hygiene, CXC 1-1969, Rev. 2022. Rome, Italy: FAO/WHO, 2022. [Online]. Available: https://www.fao.org/fao-who-codexalimentarius/codex-texts/codes-of-practice/en/
[3] U.K. Food Standards Agency, “Chilling food correctly in your business,” 2024. [Online]. Available: https://www.food.gov.uk/business-guidance/chilling-food-correctly-in-your-business
If you’re interested, check out these related articles:
Heavy Duty Chef Base Refrigeration for Efficient Commercial Kitchens
Upright Freezer vs Refrigerator Key Differences Explained
Boost Savings with Energy Efficient Commercial Upright Freezers
Essential Maintenance Tips for Your Commercial Chef Base Refrigerator
Ultimate Buyers Guide for Commercial Reach In Refrigerators